👌🏼Painting on Point👌🏼
I was considering breaking this post up into two smaller sections, but since the topics really go hand-in-hand, I decided against. With that said, I am going to cover the basics of the interior skin repair and the painting process. Painting and prep are easily my least favorite, most patience-testing tasks on any renovation. I am finding that I do not even like to write about the process, but I will do my best.
Interior Skin Repair/Preparation
Skin? You mean the walls?

Yep! It is common to refer to the interior and exterior aluminum-based coverings as ‘skins’ in the Airstream community. I suppose this stems from the way the alluminum panels seem to wrap around the frame, like skin on the body. To discuss the exterior skin repair, sealing or polishing, that will be another post for a later day. Today, we will go over the prep work needed to get your old, greasy interior skins ready for paint!
You stripped everything out of your Airstream, and now you are left with hundreds of tiny holes, scratches, and dings in the interior skin walls. This is expected in older Airstreams. No worries, we will get those walls looking fresh-to-death in no time. If you have ever patched a hole in drywall, this is not that much different. The big difference is in the material used to patch the holes is more resilient and flexible. Grab yourself a tube of a 'paintable' silicone-based caulk (for small holes) and/or Bondo (for bigger holes).

Great! Now we need to identify the really nasty holes with jagged aluminum edges and clean these up. Some hole will even have pieces of broken rivets sticking out. Just take a Philips-head screw driver and push this back into the wall until they are no longer sticking out. Once the hole is clear of sharp edges, we like to fill them with a pseudo-rivet. Pseudo? Well, it is a real rivet, but it is just for aesthetics (nothing structural). I prefer this since it is way quicker than waiting for something to dry. Second, you don't want a skin that can cut you if you touch it. I'm not going to promote any one method to fix these, but I found that taking a pair of needle-nose pliers and a flat-head screwdriver, you can easily remove or push the aluminum back into the hole. Use the pliers to twist off and bend the aluminum shards and the flat-head to do the pushing. Don't ever push these shards with your fingers unless you want a nice cut.

Now, go over the surface meticulously and fill each hole with the caulk. Do your best to level the caulk as you go since it is not sand-able once it dries. You won't get a huge rush of satisfaction from this step just yet, the big reveal comes when the walls and caulk are painted and those pesky holes seem to disappear. Keep going back until you feel confident that all the little holes are filled.
Once the caulk is dried and set, have a piece of fine sandpaper and rub each hole until the caulk is cleaned up.
Just for clarification: the caulk is not ‘sandable’ but sandpaper does a nice job of cleaning it up. 🤷🏼♂️
The next big step is removing years of oily build-up from the walls. This is absolutely necessary to ensure the paint/primer adheres to the wall. Take a common household degreaser solution, like TSP, and just start spraying and wiping.
Be generous, be thorough, and be patient.

PAINTING!
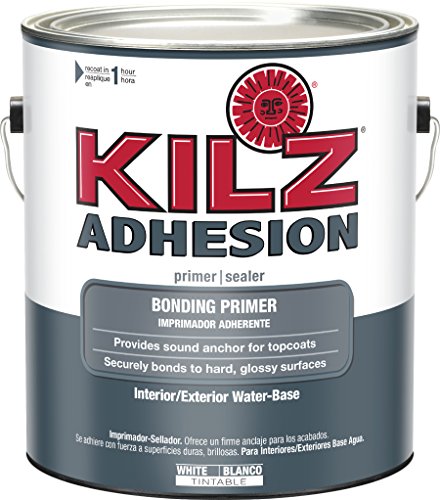
You have patched and de-greased your walls. Next step will be to tape off everything you do not want to be painted. Again, this is a tedious step. Take your time and do it right. An extra minute taken during this step will save you hours on the backend. Block out the windows, tape off metal, remove cabinet hardware, etc, etc… Since we replace electrical outlets and switches in all of the renovations, I will pull them from the wall, but leave attached to the wires. Just place a little piece of tape over the outlet itself to keep the paint from causing and electrical short if any paint enters the socket. For the base coat that is first to set on the vinyl walls, we use Kilz Adhesion Bonding Primer (no sponsorship, just love this product). Whatever magic Kilz puts in this primer, it sticks like a charm to these interior skins. Our spray gun tool of choice is a Wagner FLEXiO 970 HVLP. While it is a pain in the ass to clean, the paint is not hanging from the sprayer itself like many others. It draws the paint directly from the can via a long tube. Only having the sprayer in your hand without a quart of paint hanging below allows you to get into smaller, harder to reach spaces, as well as providing a longer spray time before needing to switch to a new can.
After your bonding primer layer has dried, you can now paint over your skins with a latex paint (color of your choice 😉) for your final look! Give it a second coat since you’re an animal! Easy right?!
This is a little tip that is often overlooked but wildly important. We just spent hours taping off our edges and painting. We go to remove the painter’s tape and it pulls our paint up with it!!! Oh no! Before this happens, be sure to use a knife with a fresh razor to gently score the edge between the paint line and tape edge. Go slow and tease the tape up.

I just wanted to throw in some alternative painting projects that did not require the spray gun. In the bathroom, we cleaned up and re-painted the vanity to a beautiful ‘hunter green’. We used Rustoleum spray paint instead of rolling since the texture on the face has so many indentions. Anytime you use spray paint, you risk ‘over-spray’ getting on literally everything so use extra caution to protect the walls before starting.


All in all, we would love to hear the methods others have used since the pros barely outweigh the cons in our method. Please comment below!! While we end up with a beautifully painted interior skin, the prep and cleanup are all but mind-numbing.

Thanks for reading!
Will